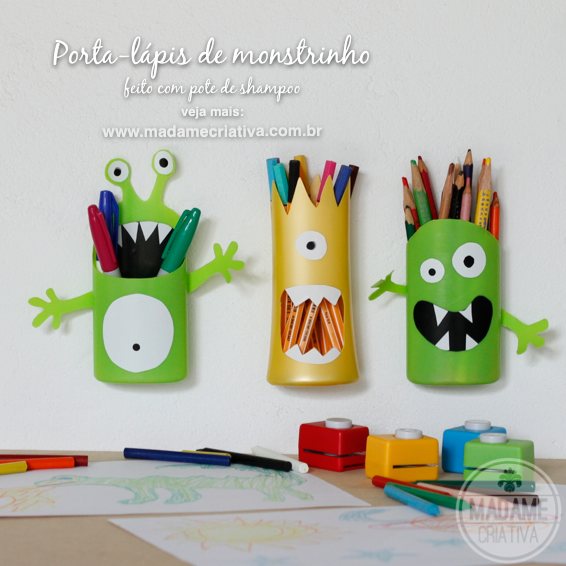
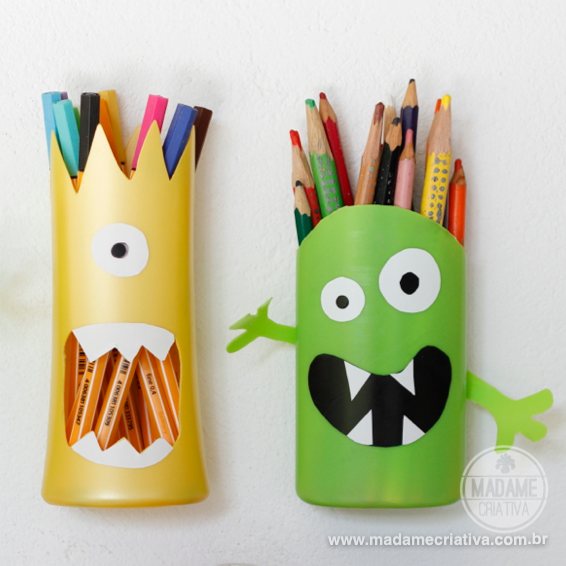
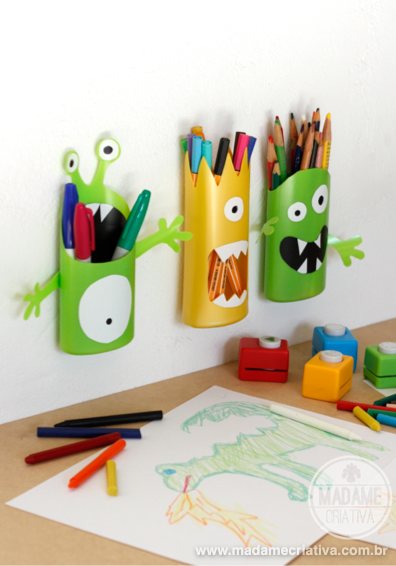
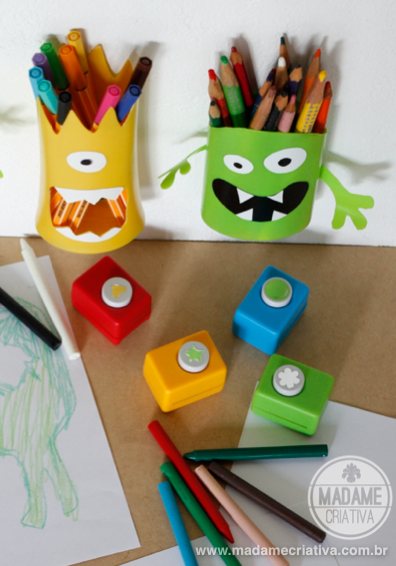
| Português Há alguns meses decidi que iria juntar os potes de shampoo para ter alguma ideia legal de reaproveitamento. E quem acompanha nosso trabalho sabe que para nós, a ideia não basta ser útil, ela tem que ter um belo design. Na maioria das vezes a ideia não vem na hora. A mente fica trabalhando sem a gente perceber e um belo dia a ideia aparece! A inspiração veio da Toy Art, do universo infantil. Surgiu o porta-lápis em forma de monstros divertidos! E ficou uma graça! Super fácil de fazer e muito barato! Se você tem criança, aproveite essa ideia. A molecada vai gostar! Fotos e texto: Bianca Barreto | English A few months ago I decided I would keep empty shampoo bottles to have some cool idea for repurpose it. And those who follow our website know that an useful idea is not enough for us, it must also have a beautiful design. Most of the times the idea does not come in a day or two. The brain keeps thinking about it, making connections and one day the idea just appears! Like if it was obvious! For this project the inspiration came from the Toy Art and children universe: pencil holder in the shape of fun monsters! And it came out cute! Super easy to make and very cheap! If you have children, make this. The kids will love! Photos and text: Bianca Barreto |
Como fazer um porta lápis de monstrinho com pote de shampoo - (xampú)
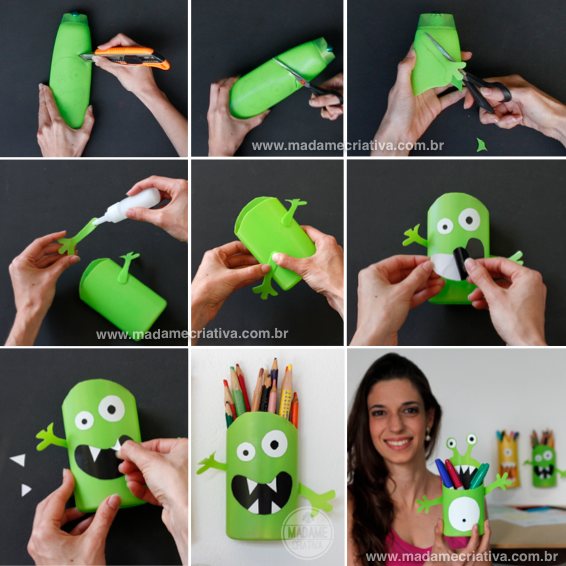
2-Enfie um estilete acima do topo da cabeça do monstro para fazer um corte inicial.
Dica: Não faça esse corte sobre o risco com lápis, pois se o corte sair torto, você pode consertar quando for cortar com a tesoura.
3-Corte a cabeça do monstro com uma tesoura
4-Desenhe os braços do monstrinho. Desenhe um de cada lado da parte superior do pote e recorte.
5-Cole os braços na parte traseira do monstro. Use cola universal ou outra cola que seja apropriada para plástico.
6-Pressione para colar bem
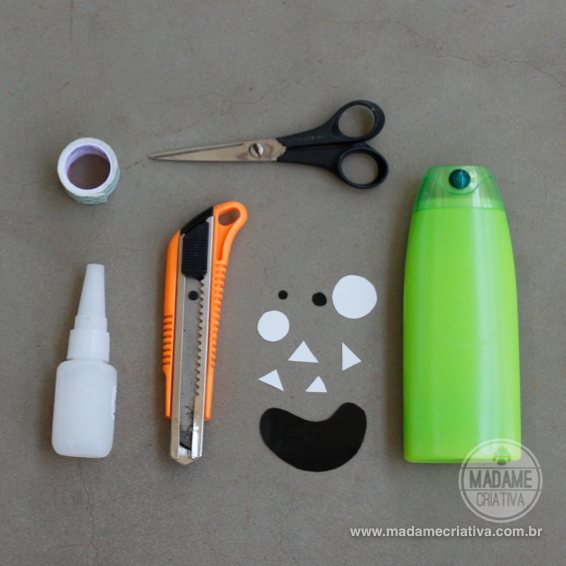
7-Recorte papel contact ou outro adesivo para fazer os olhos e a boca.
8-Cole os adesivos recortados
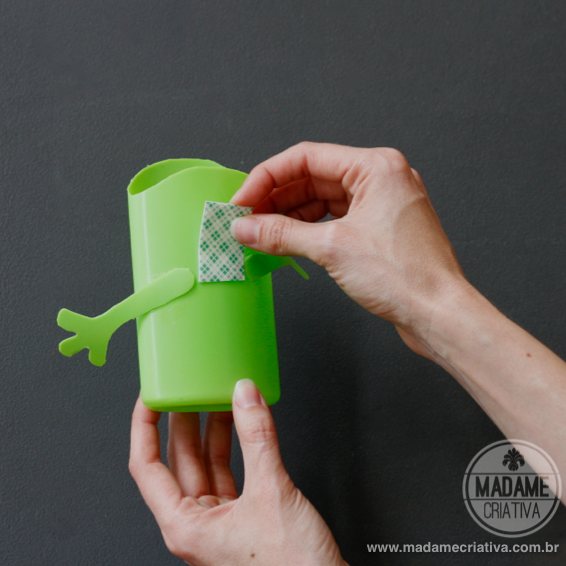
9-Para fixar na parede, use fita dupla face!
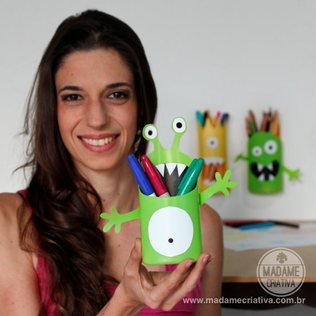
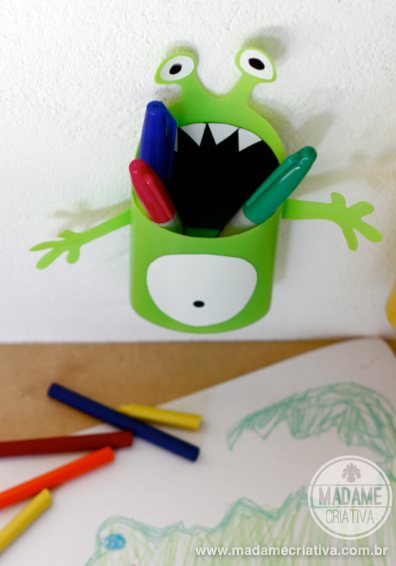
Pronto!
How to reuse Shampoo Bottle - How to make Monsters Pencil Holders - DIY tutorial
2-Insert a stylus above the top of the monster head to make an initial cut.
3-Cut the monster's head with scissors
4-Draw the arms of the monster. Draw one on each side of the upper part of the bottle, the left over, then cut it.
5-Glue the arms on the back of the monster.
6-Press to stick well
7-Cut adhesive paper, stickers or tape to make the eyes and mouth.
8- Stick eyes and mouth on the monster.
9-Use double-sided tape to stick on the wall!
Done!



 RSS Feed
